
Zero-Touch Provisioning (ZTP)
Zero-Touch Provisioning (ZTP) automatically performs the following three tasks to set up your Starter Kit seamlessly:
Get your F1 Starter Kit online using the default LTE network.
Add your F1 Starter Kit and CAP/T sensor to your Ctrl account for remote monitoring and management.
Link your F1 Starter Kit and the CAP/T sensor to start viewing its data through your Ctrl page.
Regional Coverage
Start by checking if you’re in a region that supports ZTP as listed below:
F1 Starter Kit Configuration |
Regions with Coverage |
|
|---|---|---|
1 |
NA Cat M1 |
Canada, USA, Puerto Rico |
2 |
EU Cat M1 |
Austria, Belgium, Denmark, Estonia, Latvia, Ireland, Finland, Germany, Hungary, The Netherlands, Norway, Poland, Spain, Sweden, Switzerland, UK, France, Luxembourg, Romania |
3 |
Global Cat M1 |
Argentina, Brazil, Taiwan, South Korea, Japan, Australia, New Zealand |
4 |
Global NB-IoT |
Bulgaria, Croatia, Czech Republic, Greece, Iceland, Italy, Portugal, Slovakia, China, Russia |
Note
Regions supporting Cat M1 and/or NB-IoT may change without notice. Check here for the latest update.
You can continue with Manual Provisioning if ZTP is not supported in your region.
Provisioning Steps
Unpack the F1 Starter Kit and scan the QR code on the F1 evaluation board. You’ll be directed to the Ctrl IoT Platform.
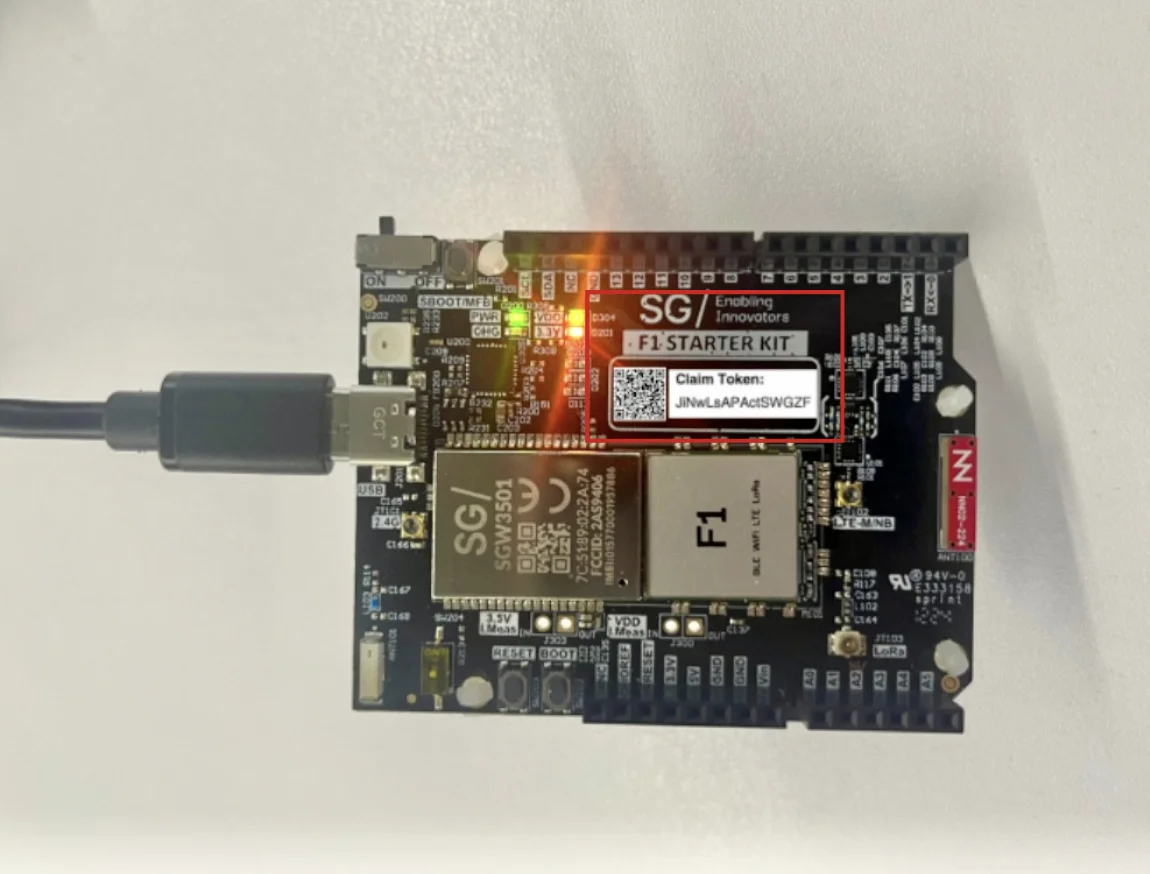
Input the email address to be associated with your Ctrl account. Your Starter Kit will be tied to this account. (No other Ctrl accounts can use the same Starter Kit until it is deleted from the account it is tied to.)
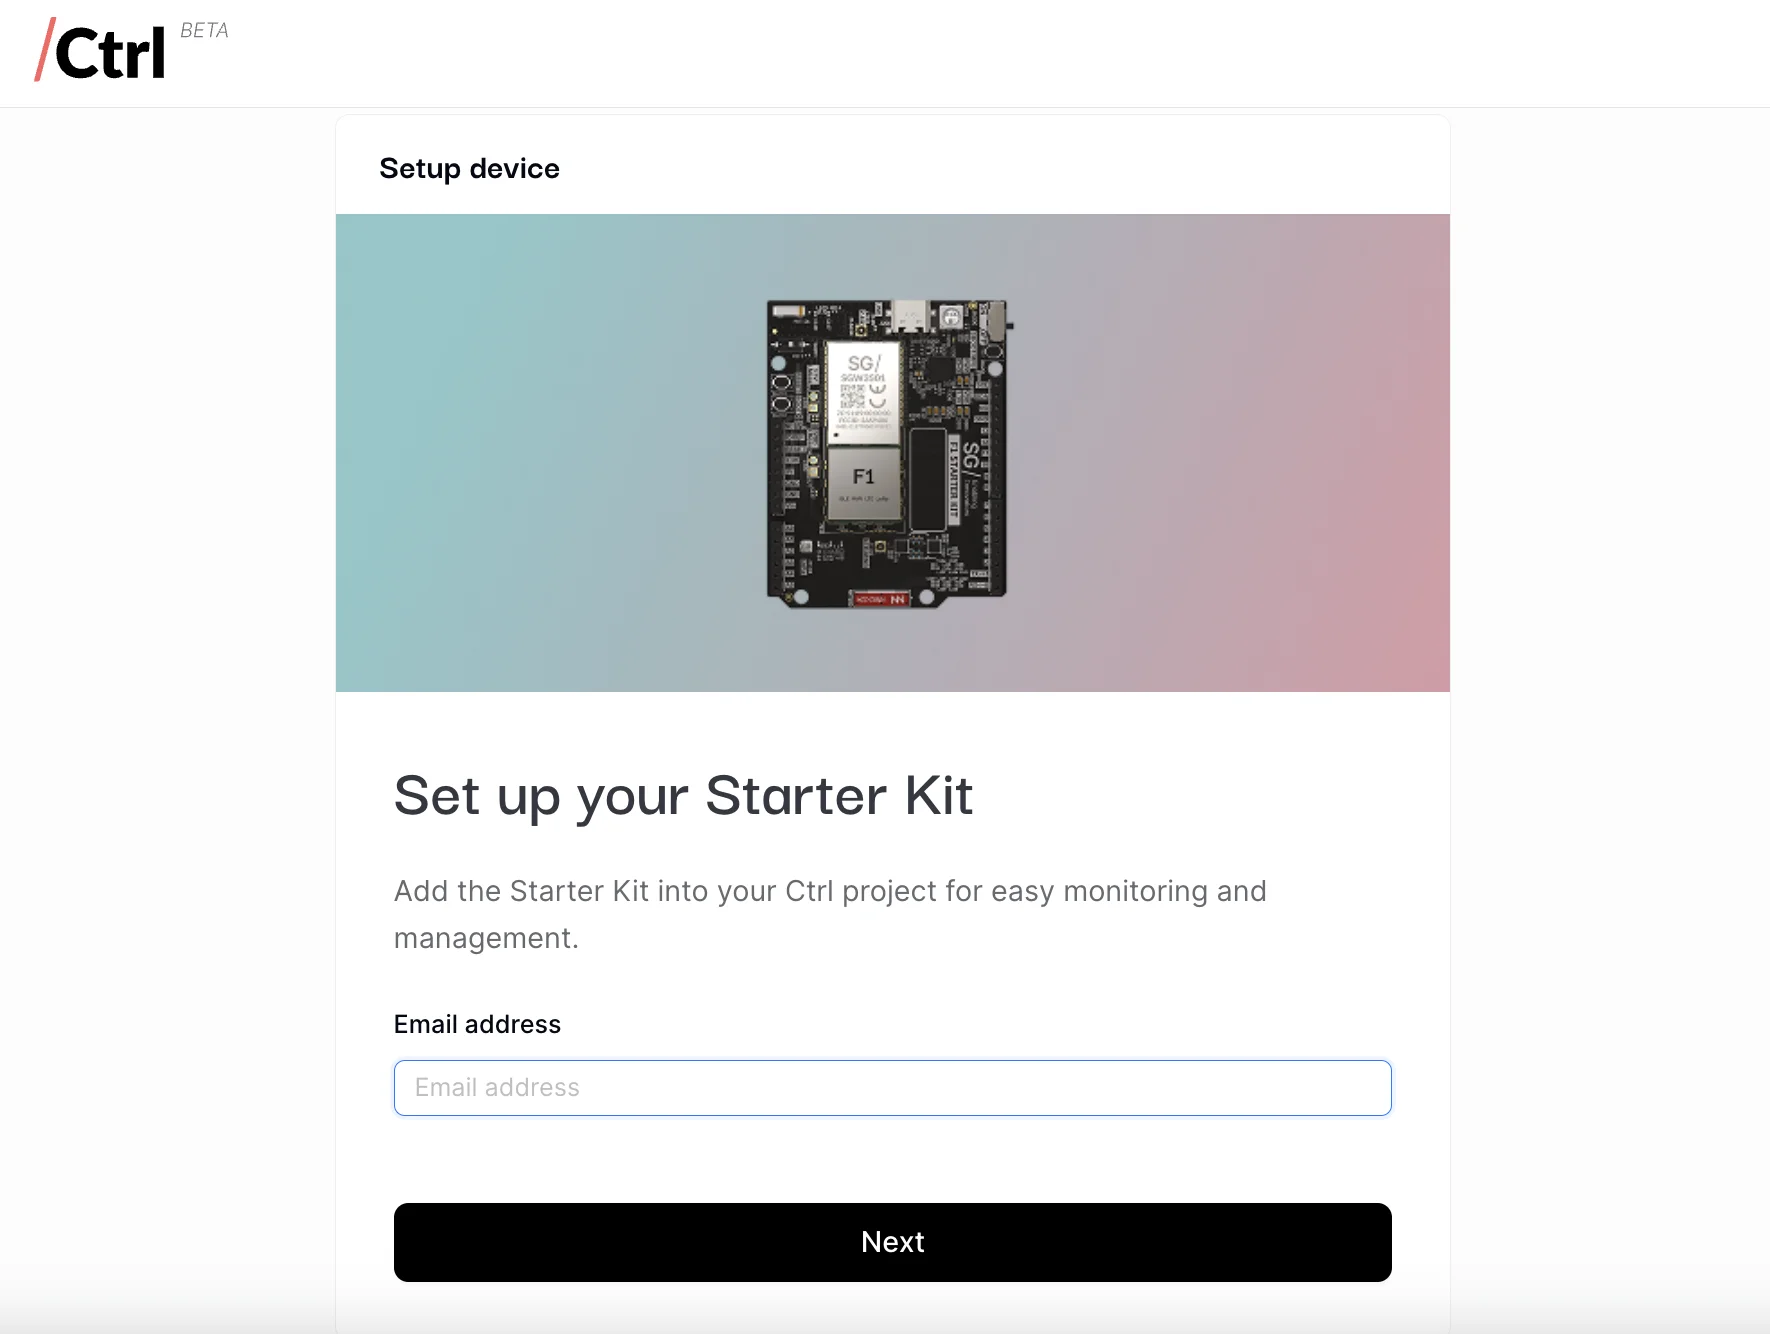
Select a Ctrl project & Device Template – as this is your first device, you’ll land on both “New Project” and “New device template” pages by default and you’ll be given system-generated identifiers accordingly. Click “Next”. (Device Templates will be important as you scale – more on this later.)
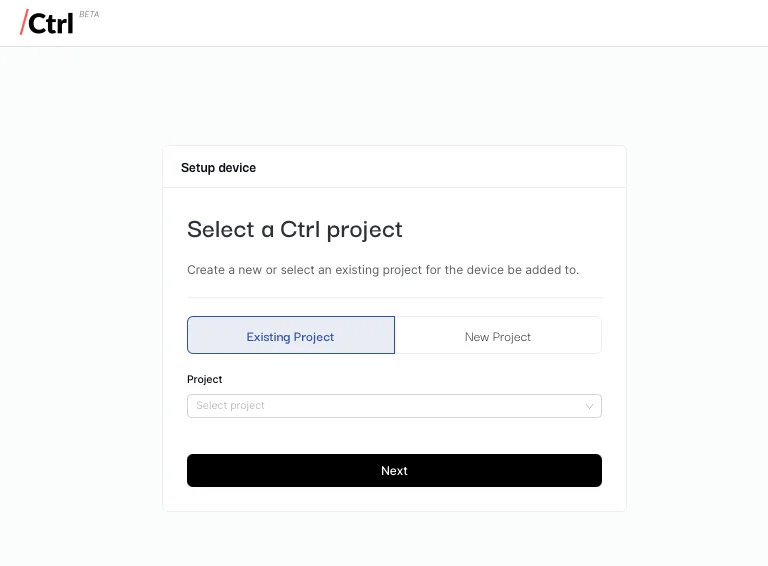
Connect the F1 evaluation board to a power source and toggle SW200 from OFF to ON (LEDs will light up).
If you also purchased a CAP/T sensor, you can directly connect your sensor to your F1 during the provisioning flow. Remove the transparent battery cover from the sensor and press the button on the top corner. Notice that the sensor LED will be blinking green.
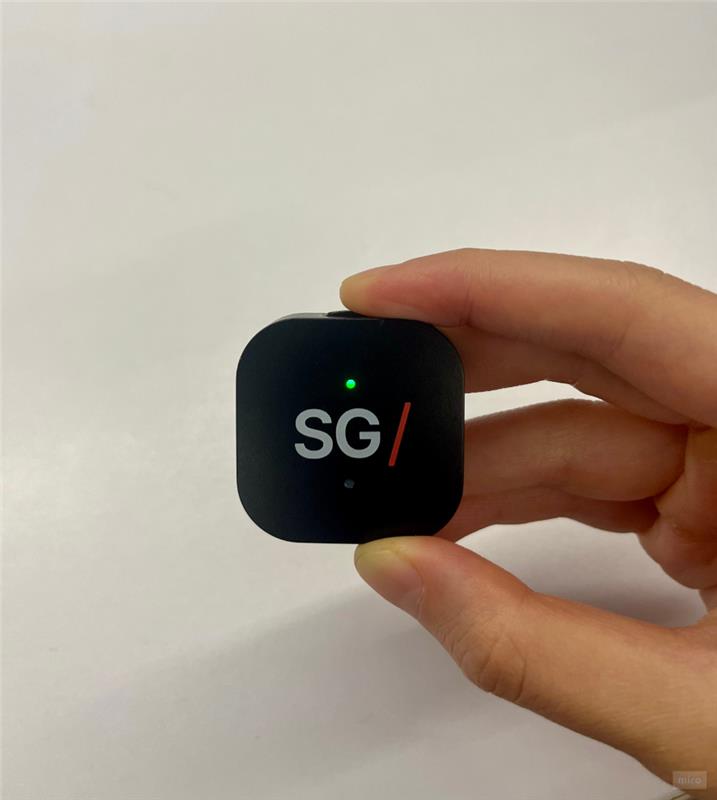
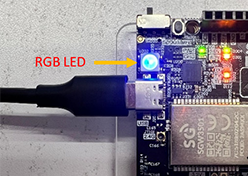
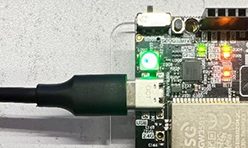
Monitor the provisioning status on your screen. You can also check the RGB LED on the F1 evaluation board:
Blinking blue = registering
Blinking green = cellular connected
Solid green = provisioning complete
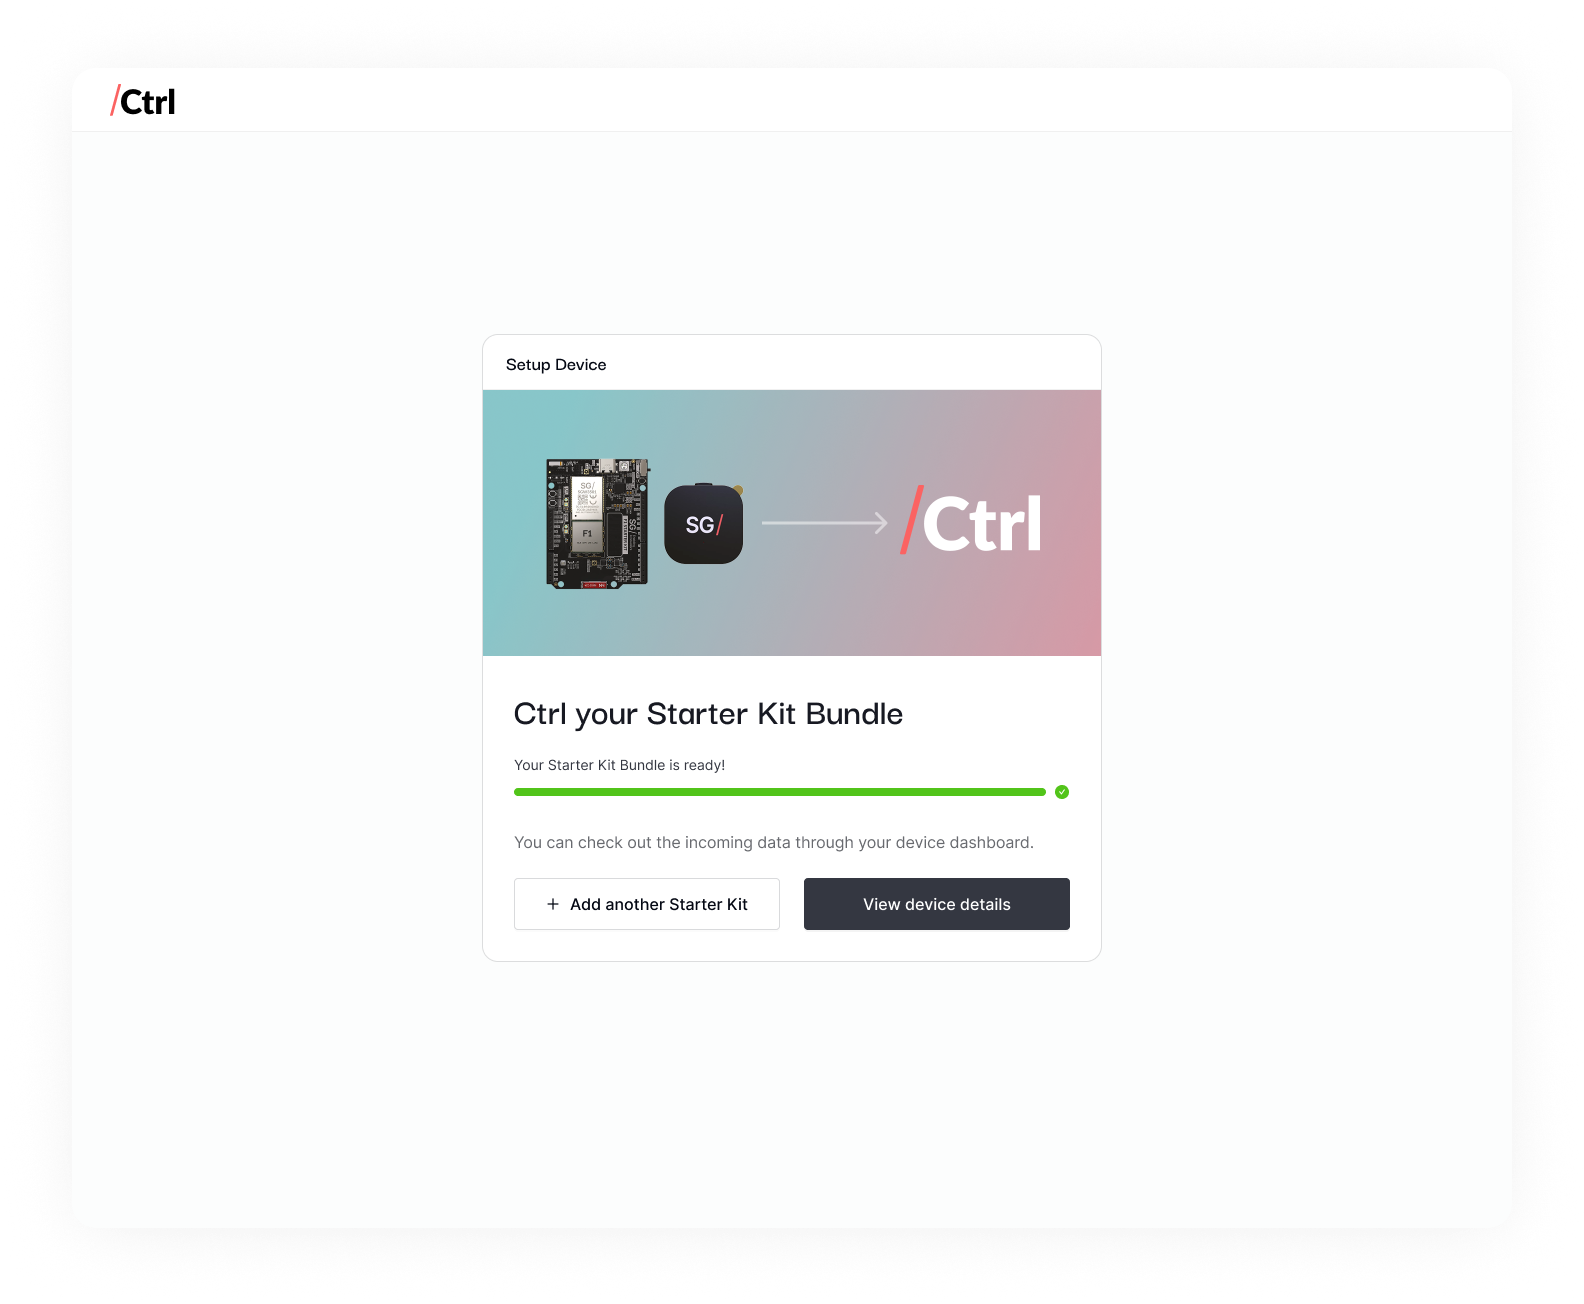
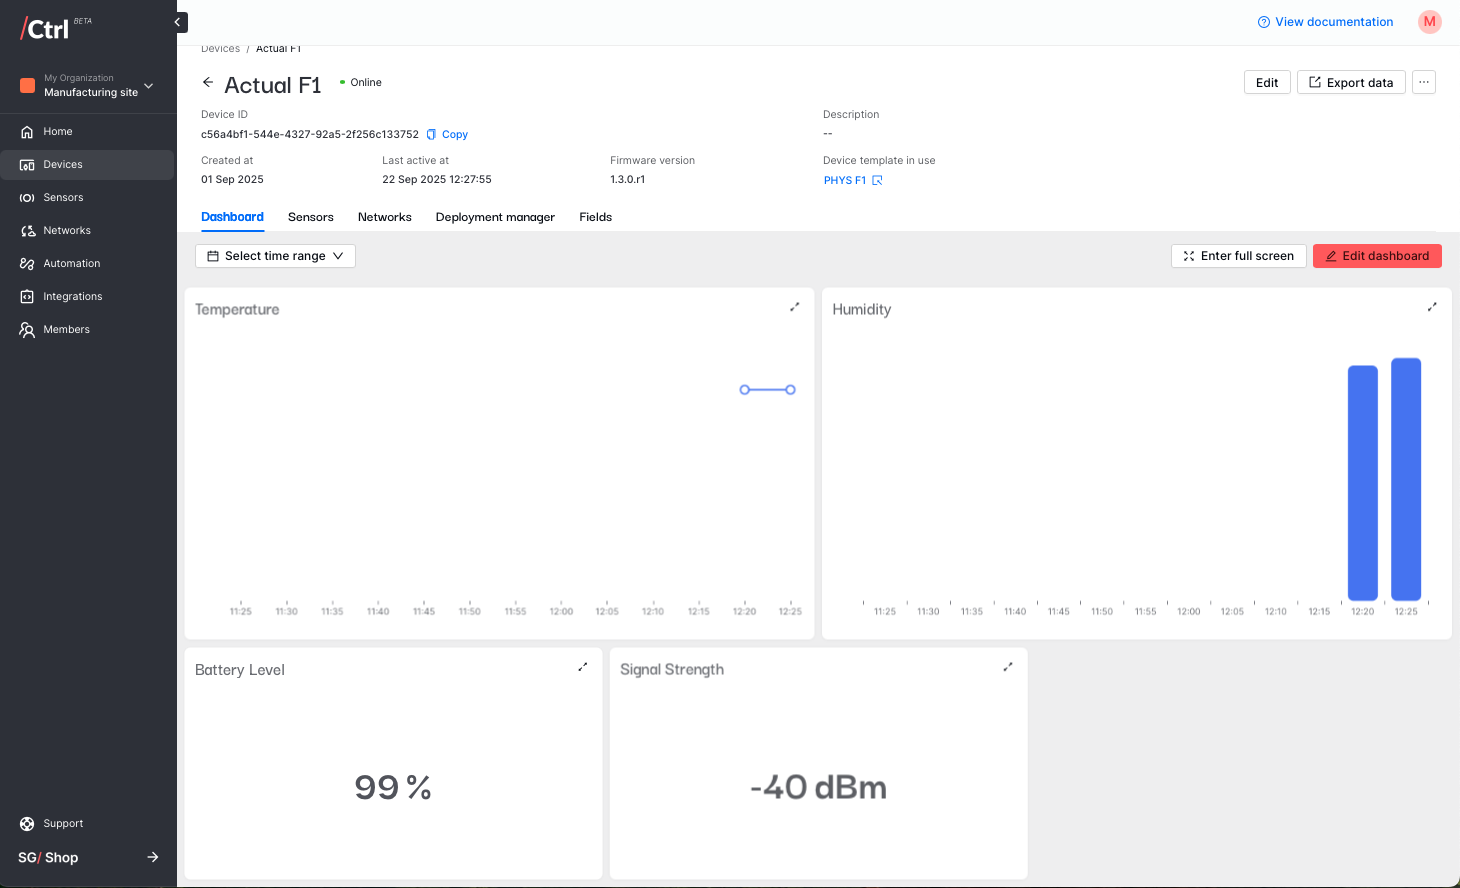
When provisioning is complete, click “Go to device details” on your Ctrl screen to see sensor data coming through.
Next Steps
From here on, Ctrl will be best used on a PC environment. You can continue your IoT journey by either programming your F1 Starter Kit or configuring your dashboards.