
Programming the Basics
Now that the F1 Starter Kit is connected to the Ctrl Cloud Platform, this tutorial covers how to program basic I/O on the F1 Starter Kit.
Light up the Onboard RGB LED
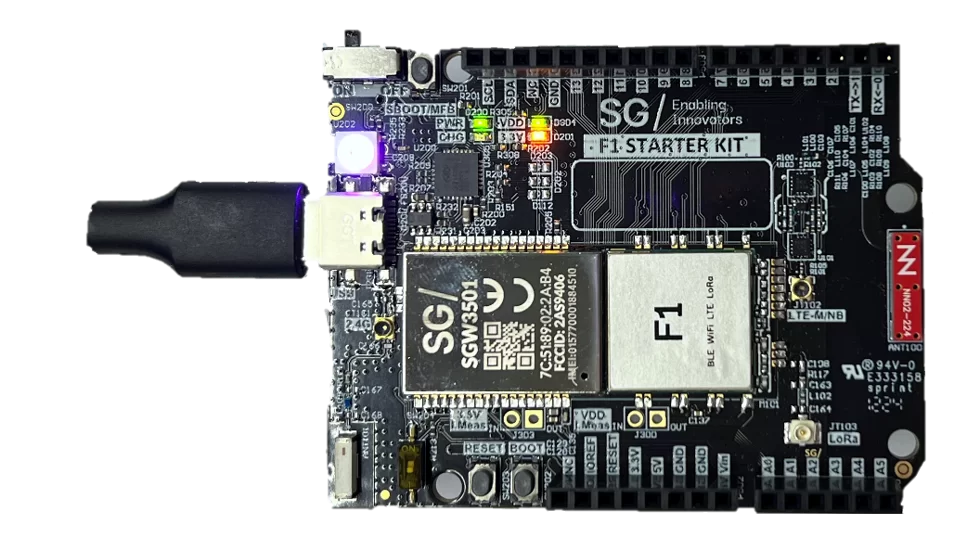
The F1 Starter Kit has an onboard, fully addressable RGB LED. You can set different colours and brightness levels.
Open the CtrlR REPL terminal and type the following commands to experiment with the RGB LED:
# Test RGB LED heartbeat
rgbled.heartbeat(True)
The RGB LED should now be pulsing.
# Stop heartbeat and set a solid colour (R, G, B)
rgbled.heartbeat(False)
rgbled.color(0xff0000)   # Red
rgbled.color(0x00ff00)   # Green
rgbled.color(0x0000ff)   # Blue
Creating a project in CtrlR
In a known destination on your computer, create a new project folder called RGB-Blink.
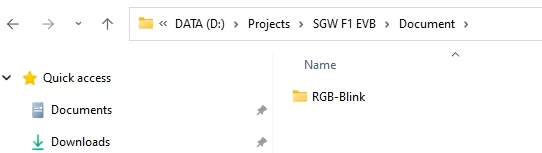
Launch VS Code and open the RGB-Blink project folder you created.
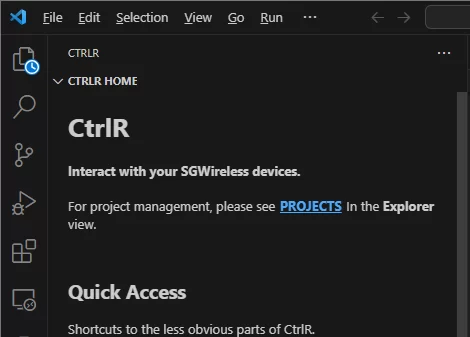
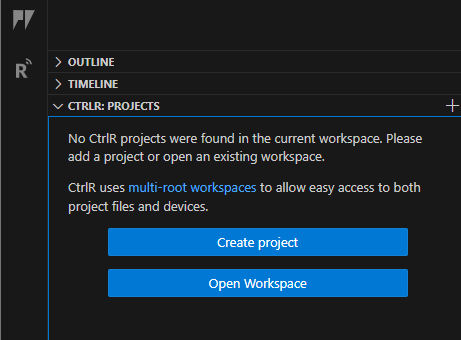
Create a new file called
main.pyand add the following code: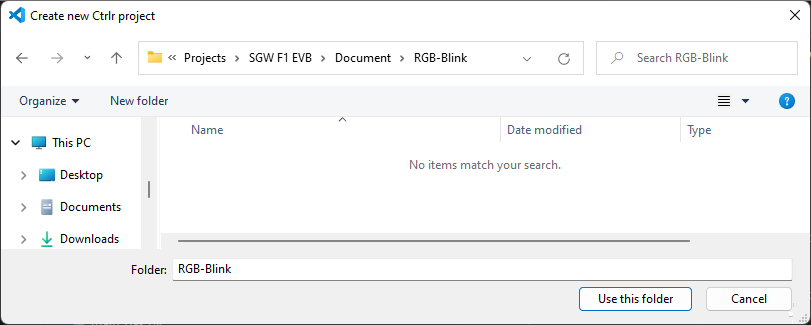
import time

colours = [0xff0000, 0x00ff00, 0x0000ff]  # Red, Green, Blue

while True:
    for colour in colours:
        rgbled.color(colour)
        time.sleep(1)
Uploading code to your F1 Starter Kit
You can test code on the F1 Starter Kit by choosing one of two options in CtrlR:
Run file on device
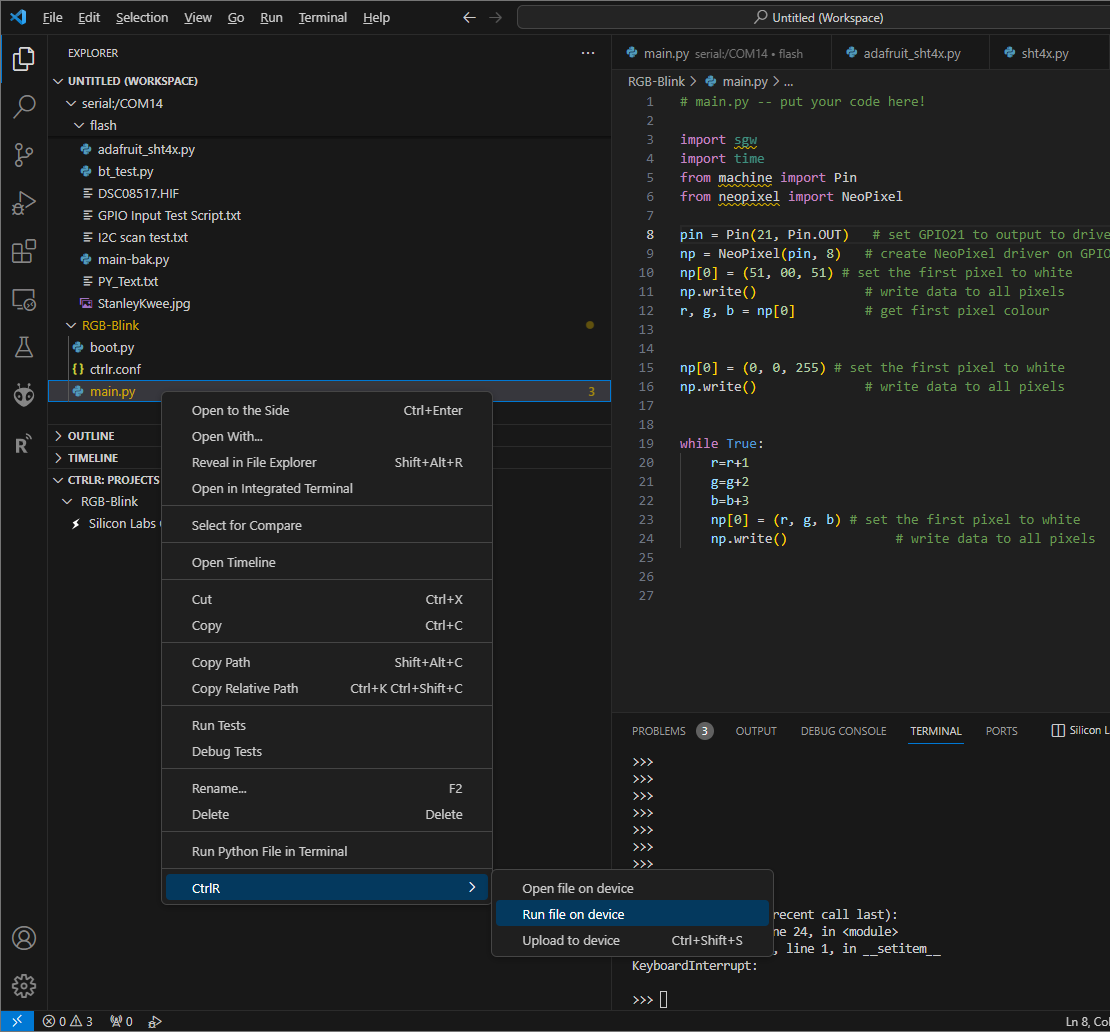
This option sends the script to the F1 Starter Kit and runs it immediately. The script is not stored on the device and will not persist after a reboot. This is useful for testing.
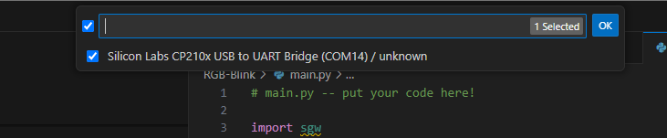
Upload to device
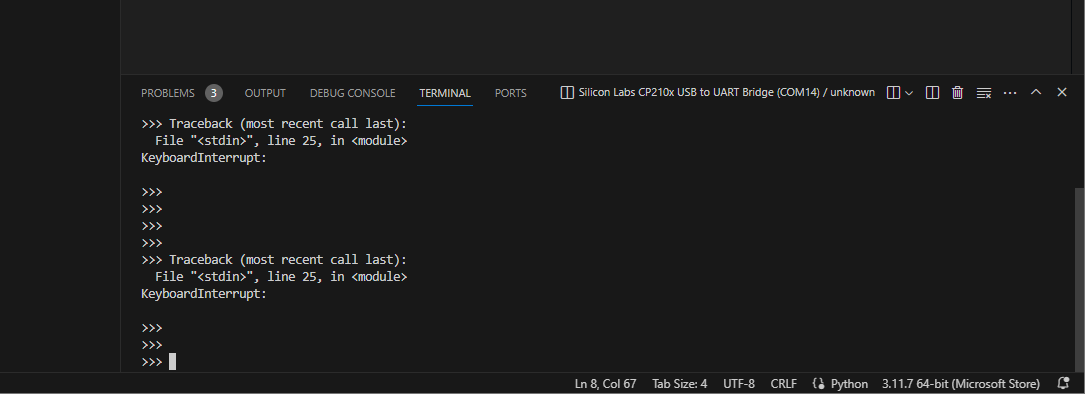
This option uploads the script to the F1 Starter Kit’s file system. The script will persist and run on boot. Use this when your code is ready for deployment.