
Your First Sensor Data
The final step to your set-up is also the most important – getting data.
Let’s start with the CAP/T Sensor which comes with temperature and humidity sensors.
Note
You can skip this step if you provisioned your device through ZTP.
This sensor configuration method is only applicable for CAP/T sensors at the moment. Other sensors or peripherals need to be configured directly on the device.
Add your CAP/T Sensor
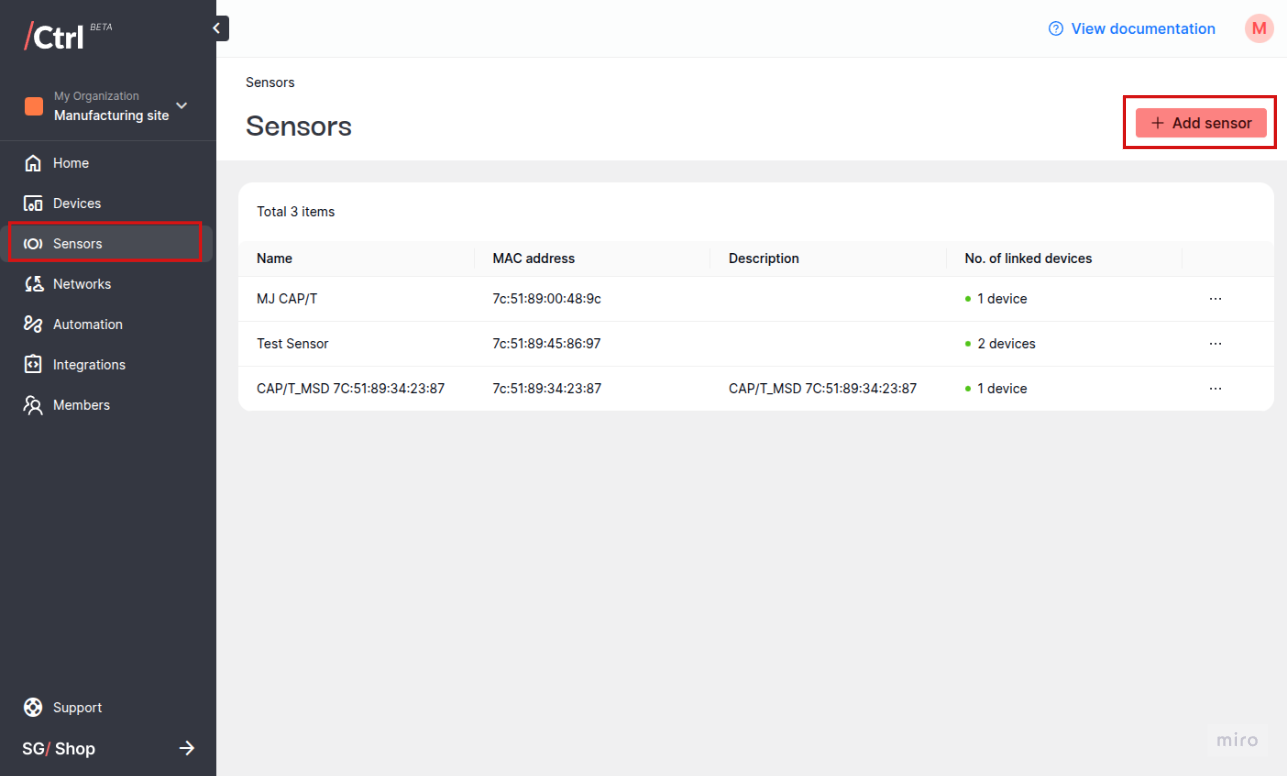
In the side menu, click “Sensors”, then “Add sensor”.
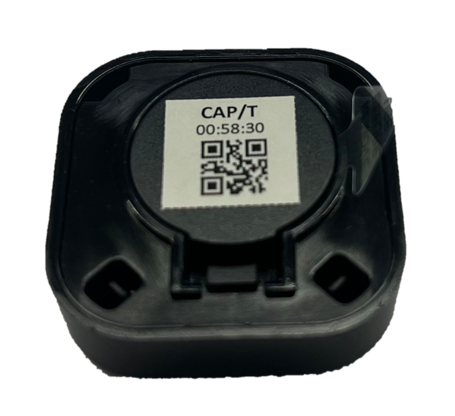
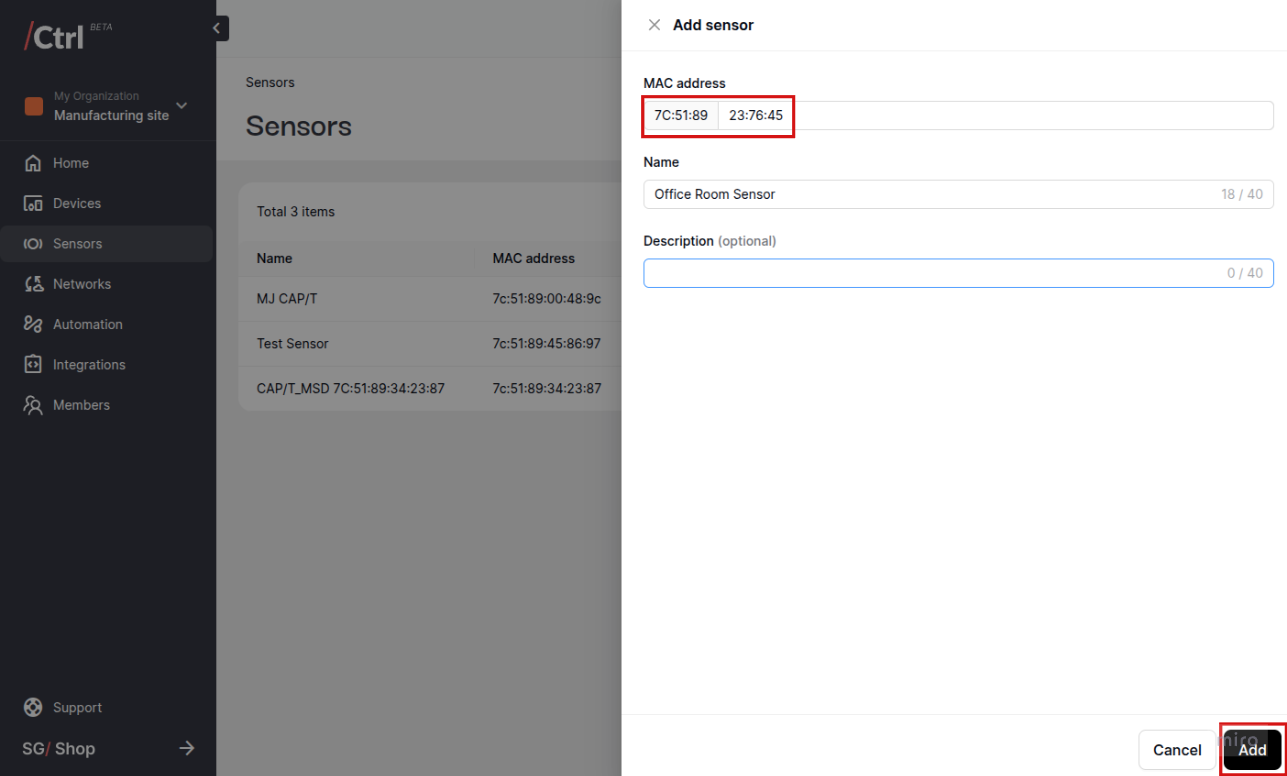
Enter the last 6 digits of the MAC address of your CAP/T Sensor, which can be found on the Sensor’s battery lid. The first 6 digits have been automatically filled for your convenience.
Name the Sensor and add a description as needed.
Click “Add sensor”.
Link your CAP/T Sensor to your F1 Starter Kit
One CAP/T Sensor can send data to more than one F1 Starter Kit, giving you the flexibility to use the same set of data in multiple ways for different projects.
This is done by linking the Sensor to the required Kit(s), as follows:
Since we are attempting to update the sensor configuration remotely to the Starter Kit, ensure that your Starter Kit has a stable Internet connection. Otherwise, you can regenerate the configuration key and run it through your CtrlR Visual Studio Code plugin after completing the “Map your CAP/T Sensor data” steps.
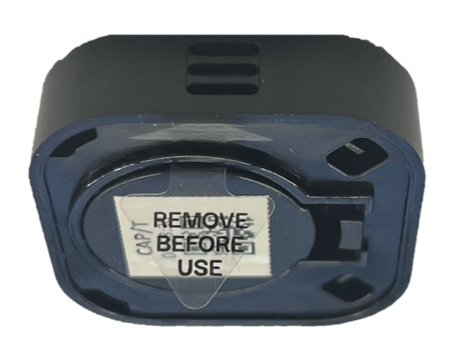
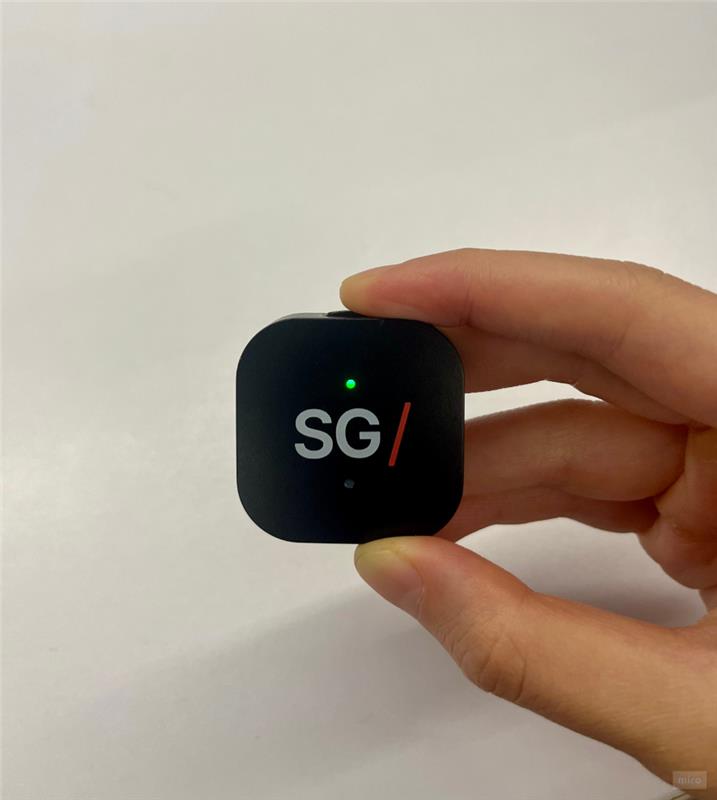
Remove the transparent film from the CAP/T Sensor. Ensure that the sensor LED is blinking green.
Initiate the device linkage through one of the two methods:
Through “Devices”:
Find the target device on your device list, and go to the “Sensors” tab.
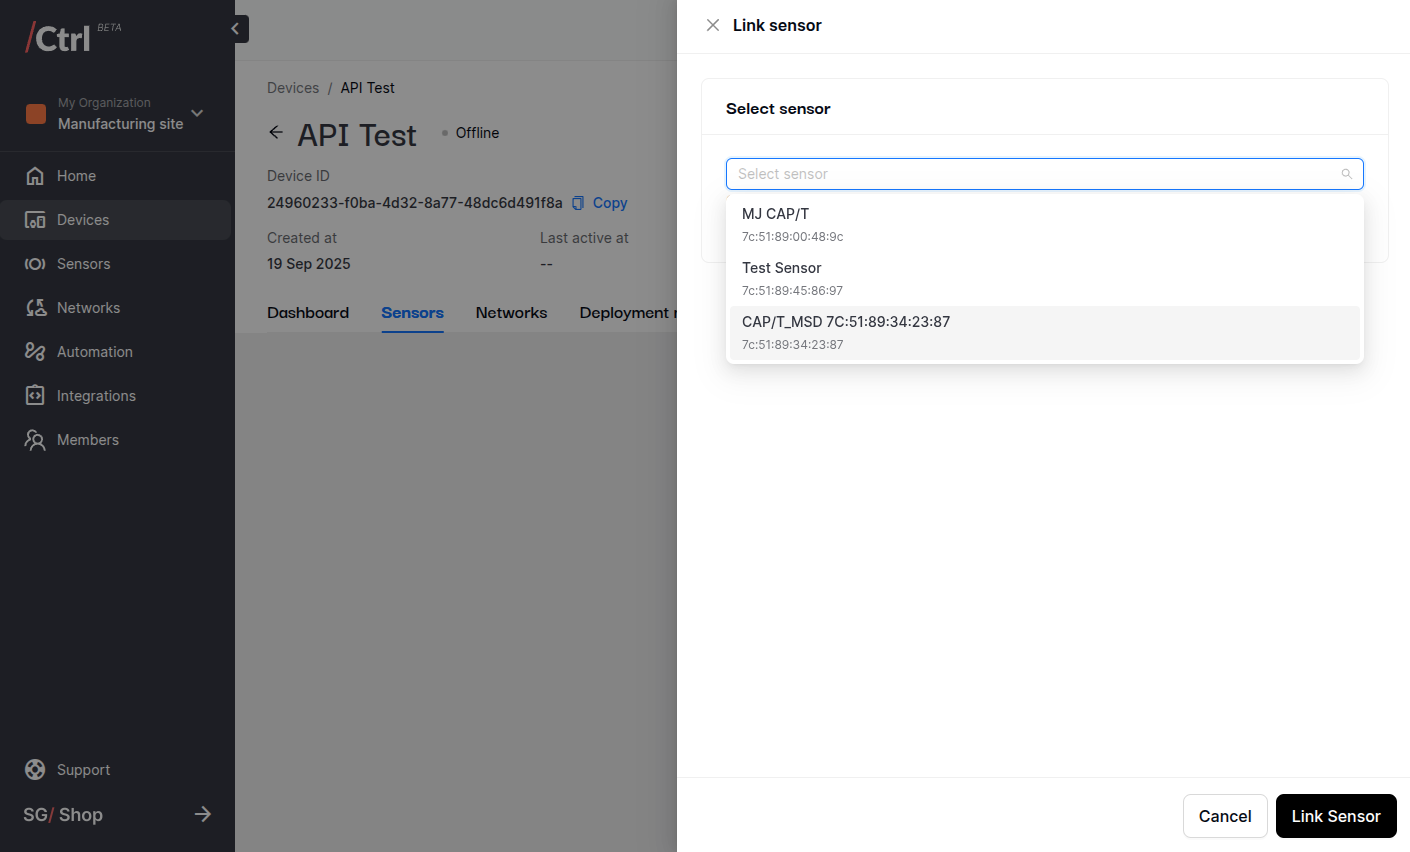
Click “Link sensor” and select the target Sensor.
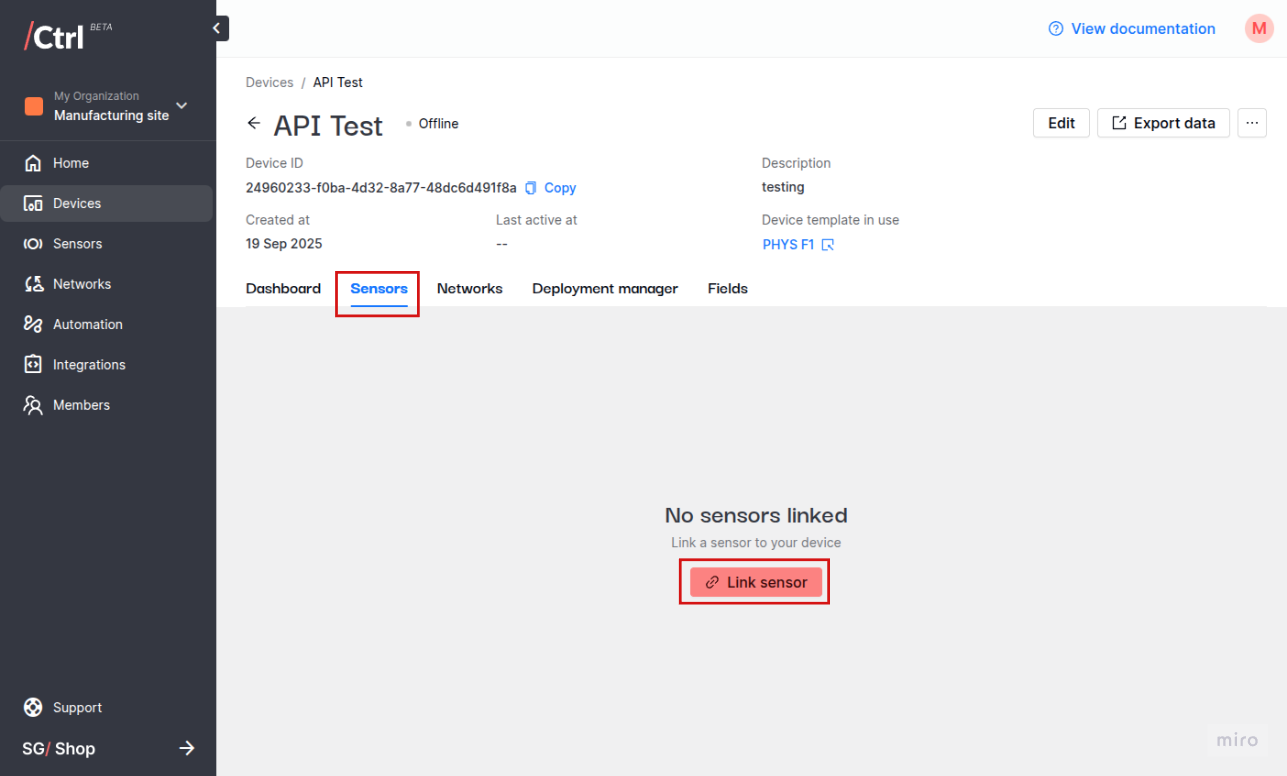
Select a sensor to be linked.
Through “Projects”:
Go to the “Sensors” tab, and find the target Sensor. Click the “…” button.
Click “Link device”, then select the target Kit.
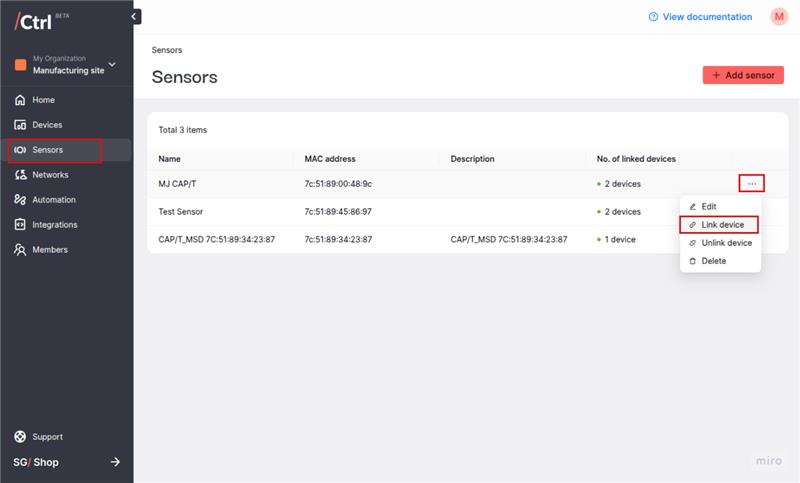
Select a device to be linked.
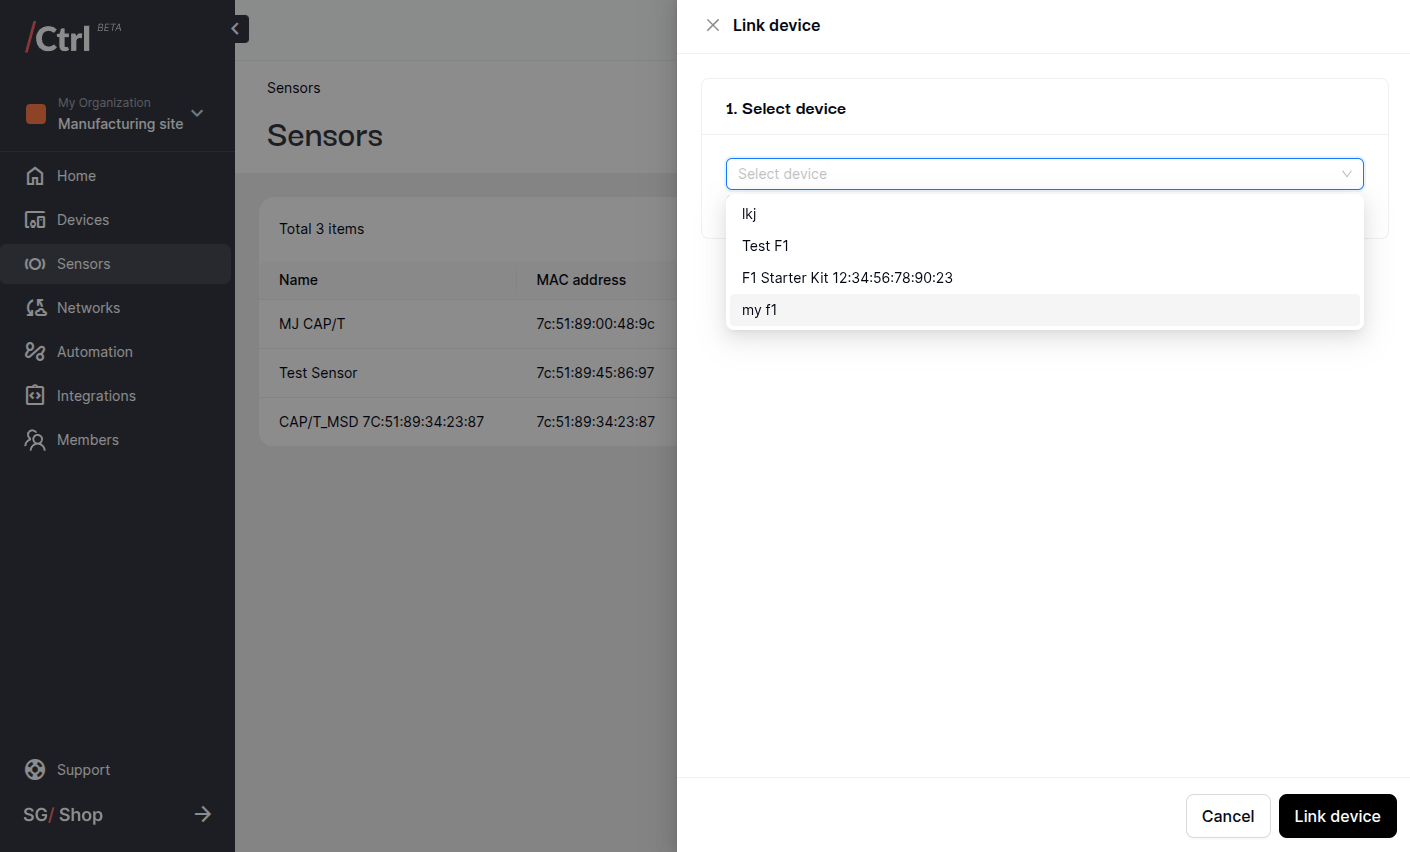
Map your CAP/T Sensor data
Sensor data is stored in “Device Fields” – consider them as individual buckets that store different types of sensor data.
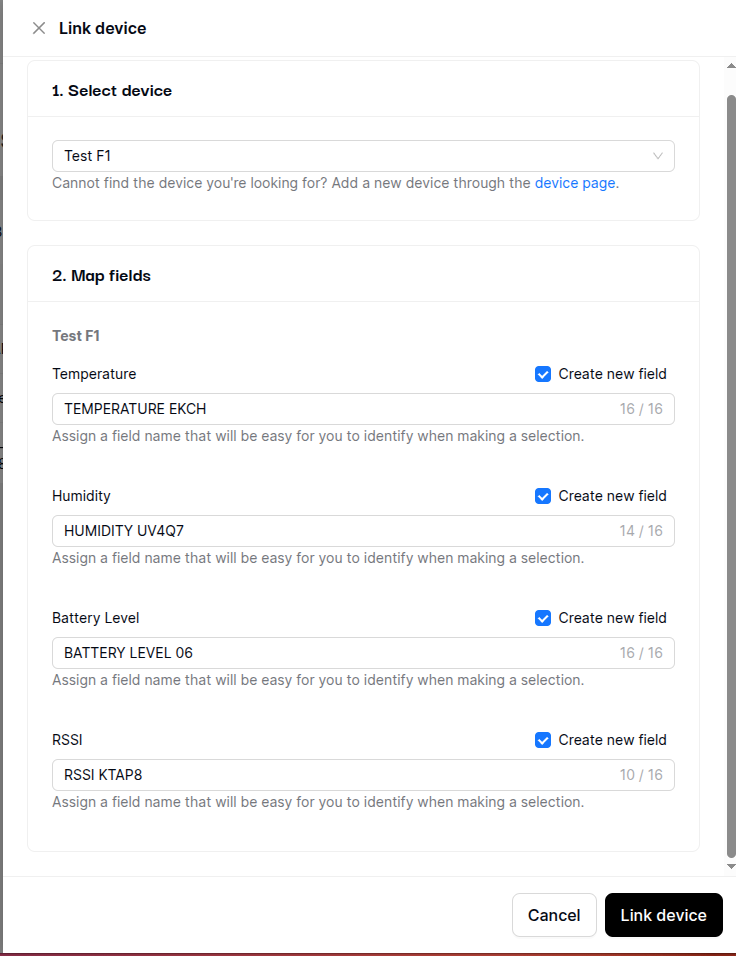
After you select a device or sensor to be linked, the field mapping options will be displayed.
By default, a new Device Field is created for each type of telemetry data received from CAP/T sensors. You will see four Device Fields automatically created for the CAP/T Sensor:
Temperature
Humidity
Battery Level
RSSI
You can also disable the “Create new field” option to map the data to existing compatible Device Fields.
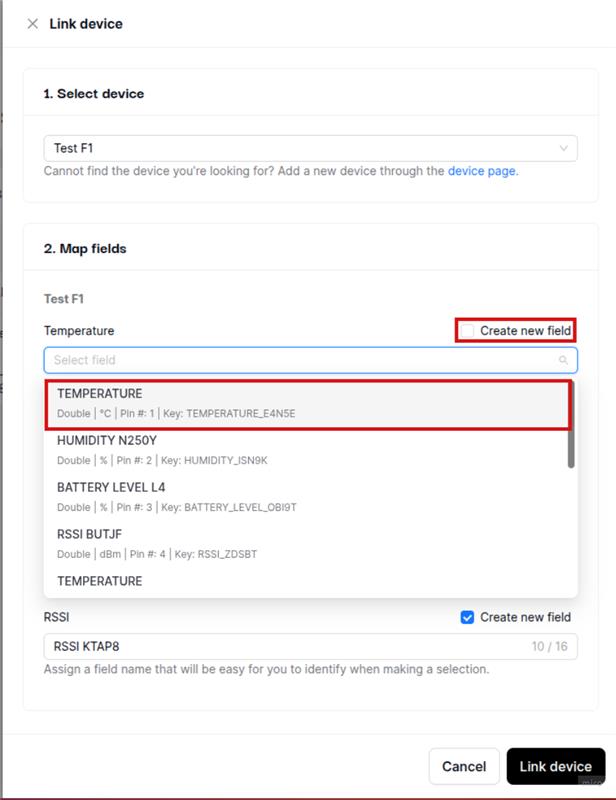
Click “Link device” when you’re done.
If your device is not currently connected to the internet, deploy the sensor configuration by regenerating the activation code and running it through your CtrlR Visual Studio Code plugin.
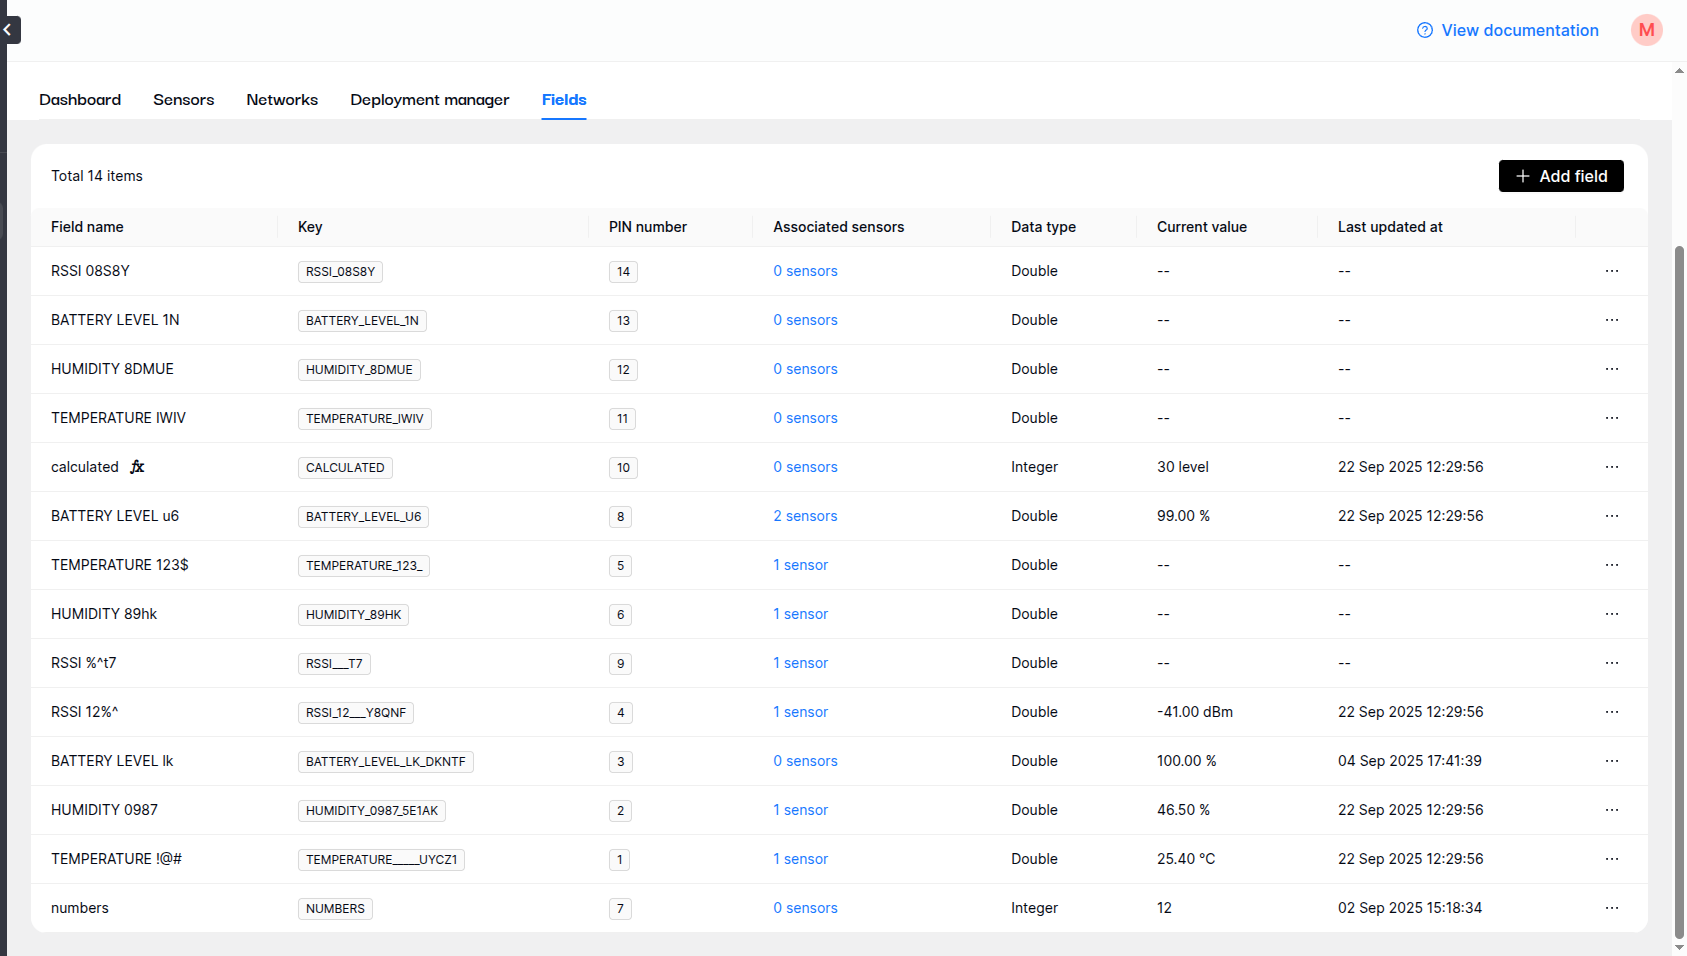
View the incoming data by checking the latest value columns on your device’s “Fields” tab.
Next Steps
You can continue your IoT journey by either configuring your dashboards or programming your F1 Starter Kit.